When you first start out online the idea of creating your first website/blog can seem very confusing and overwhelming.
Knowing what steps you need to take in order to get your website from your mental concept/brain to the internet may feel like a complex task that requires a lot of work.
In reality setting up a website or blog is actually quite easy and can be done in less than 15 minutes if you know what you’re doing.
Having spent a lot of time making websites for ourselves and our friends we’ve distilled the essence of how to create a website into an easy step by step process with plenty of visual graphics to get you up and running quickly.
Why start a website/blog?
- You can share your thoughts, ideas and interests with the world
- You can be an educator
- You can reach out to and connect with other like minded peopleY
- can promote yourself and create an online portfolio
- You can make some extra money
What to do after creating your first website/blog
Establish the primary focus/goal of your website- Choose a theme that supports your content
- Optimize the look and feel of your website
- Identify the main topic(s) of your website
- Find a professional looking theme that properly expresses your website
- Customize/find tweak your websites appearance and navigation
- Develop a content / product strategy (consistency is key)
- Determine how you want to share/market/promote your website
5 Simple steps for creating your first Website
Step 1
Pick a name for your site.

The very first step you’ll want to take when it comes to creating a website is determining what domain name you want for you website, because before can create a website/blog your hosting company will ask you to decide on what the name of your website and URL (domain name eg : www.google.com) will be.

The very first step you’ll want to take when it comes to creating a website is determining what domain name you want for you website, because before can create a website/blog your hosting company will ask you to decide on what the name of your website and URL (domain name eg : www.google.com) will be.
Step 2
Choose a hosting service

Once you find your site’s name, the next step is to get hosting & domain. The domain is the name of your site (www.yoursite.com) and hosting puts your website on the internet.

Once you find your site’s name, the next step is to get hosting & domain. The domain is the name of your site (www.yoursite.com) and hosting puts your website on the internet.
Step 3
INSTALL WORDPRESS


After you’ve chosen your domain name and created a hosting account you’ll need to install software that will allow you to manage, customize and build your website as you like. Whether you want to create a blog, start an online business or build an e-commerce site WordPress is a great choice for helping you run the back end of your website.
Step 4
CHOOSE A THEME FOR YOUR WEBSITE
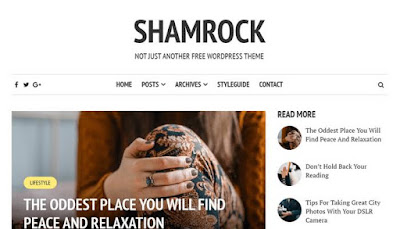

There are a ton of both free and premium (paid) themes available for WordPress that allow you to choose a design that suits the look and functionality of your website.
Step 4
1. Install Astra Plugin


When using the Astra theme, this plugin will help you import ready-made designs into your website. This means you don’t have to spend time on designing from scratch.
2. Import Demo Content


Once the plugin is installed, you can import the demo content, by clicking ‘see library’. Try to pick a design which matches closest to your vision of the final website.
3. Edit the Content


After importing the design, it’s now time to start editing & adding your content. To edit any page of your site, simply go to that page and then click “edit with Elementor”.